Victron Energy
Victron Skylla-i Control GX (Right Angle RJ45) Retail
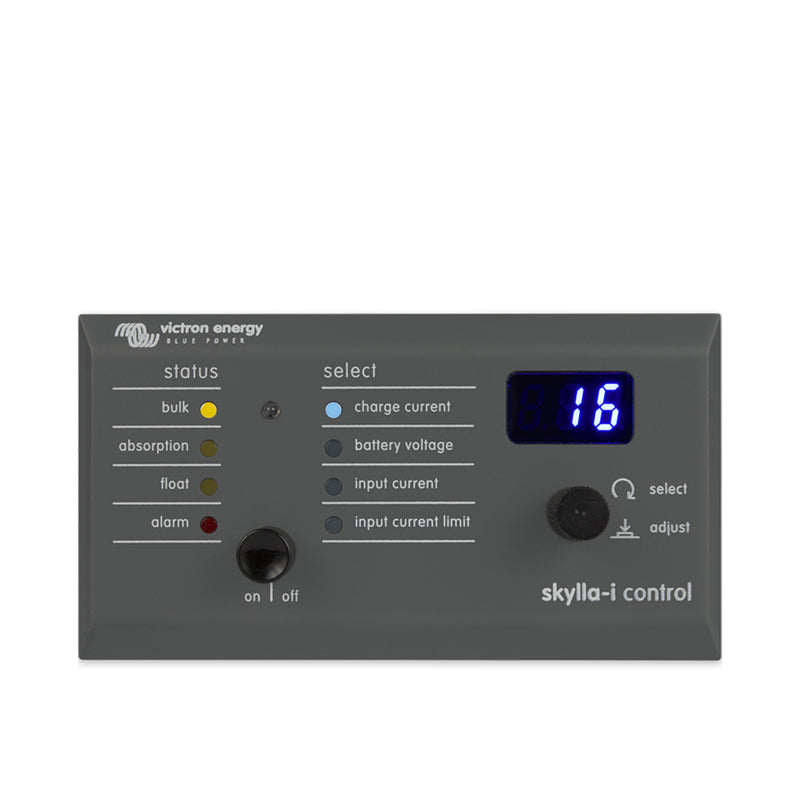
Skylla-i Control GX Remote Panel from Victron Energy (MPN REC000300000R) – Intuitive charging control
The Skylla-i Control GX Remote Panel from Victron Energy is your ideal companion for precisely adjusting the charging current of your Skylla-i battery charger and clearly displaying the system status.
This remote control panel is specifically designed for use with all Skylla-i charger models and allows for effortless integration into your system. By using the VE.CAN bus, connecting the Skylla-i panel to your charger is extremely easy. Connect the two devices using a conventional UTP (unshielded twisted pair) cable with two RJ45 connectors. Note that RJ45 bus terminators are required at both ends. The Skylla-i panel comes complete with both RJ45 bus terminators. Thanks to the two RJ45 sockets on the charger and panel, which are connected internally, you have flexible connection options.
Functions of the Skylla-i Control GX
Controllable parameters of the Skylla-i Control GX:
- Charge current
- Battery voltage
- Input Current
- Input Current Limit
- The LEDs on the control panel serve various display purposes, the meanings of which can be found in the German-language operating instructions.
Turning the Skylla-i charger on and off:
The Skylla-i charger can be turned on or off by briefly pressing the power button. However, the main power switch on the charger takes precedence. If this is turned off, the charger cannot be turned on via the panel.
Setting the charger input current limit:
Change the input current limit by pressing and releasing the rotary knob. The current value of the input current limit appears flashing on the screen and can be adjusted by turning the knob. To confirm the new value, wait a few seconds or briefly press the rotary knob.
Scope of delivery:
1x Victron Energy REC000300000R Skylla-i Control GX Remote Panel
1x Installation instructions


